24 Dec How to Paint Kitchen Cabinets
Repainting your kitchen cabinets can be a prudent approach for a cost-effective kitchen renovation. It can significantly alter your kitchen’s appearance while avoiding the expense of purchasing new cabinets. This process involves thoroughly cleaning and sanding down the cabinets, applying a primer, and then adding two coats of paint for a smooth and durable finish. With proper preparation, the paint can bond well to the cabinet surface, resulting in a long-lasting and attractive look.
With the right materials, tools, and a bit of patience, you can achieve stunning, professional-quality results, even if you’re a beginner. In just a weekend, your kitchen can undergo a transformation that will make it look like a brand-new space. In this complete guide, I’ll walk you through how to paint kitchen cabinets.
Preparing Your Cabinets for Painting
Proper prep work is crucial for getting a smooth, even finish on DIY-painted cabinets. Here are the key steps:
Clean the Cabinets Thoroughly
Grease, dirt, residue, and grime can all interfere with paint adhesion. Give the cabinet boxes and doors a good clean inside and out with a degreasing cleaner or tsp substitute. Pay attention to greasy areas around handles and edges.
Sand Cabinets Lightly
Lightly sanding rough areas knocks down wood grain and helps the paint adhere. Wipe away dust afterward.
Remove Cabinet Doors and Hardware
Removing the doors and hardware just makes the painting process easier. Number doors and attach hardware to keep it organized.
Fill Any Holes and Cracks
Fill nail holes, cracks, or any imperfections with wood filler for a smooth look. Once dry, sand again lightly if needed.
Remove or Mask Off Countertops and Backsplash
Protect surrounding surfaces with drop cloths and painter’s tape. Remove appliances and hardware.
Once prepped, you’ll want to choose the right cabinet paint.
Choosing Cabinet Paint
For long-lasting, professional-quality results, a dedicated cabinet paint is the best choice. Here are the key considerations:
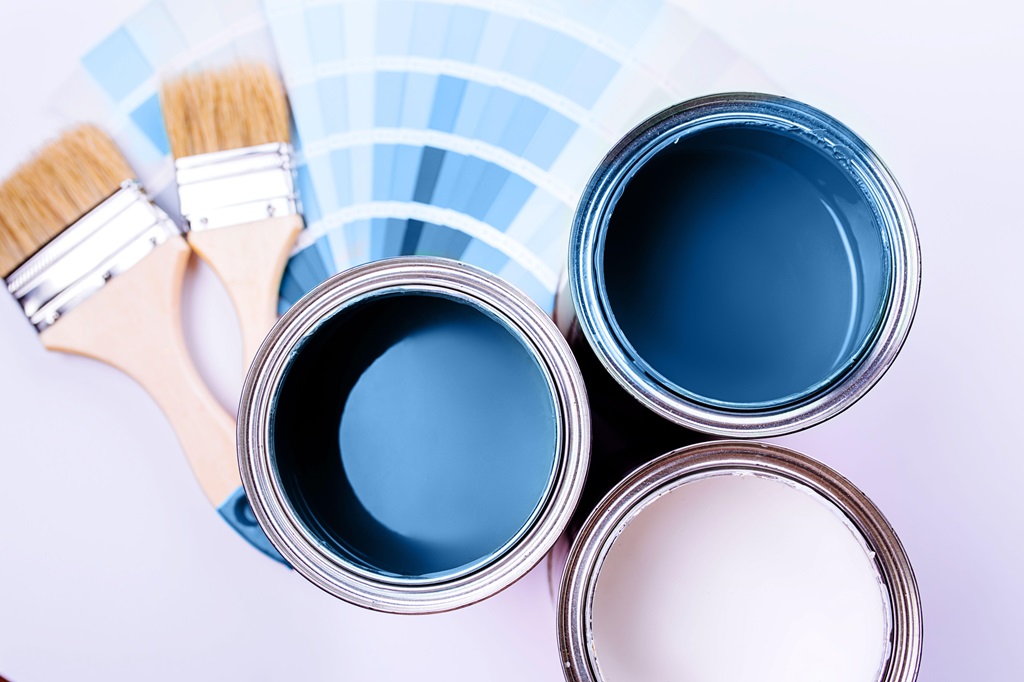
Paint Sheen
Standard cabinet paints come in different sheens from matte up to semi-gloss. Together with the base color, the sheen affects the overall look and feel tremendously. Consider:
- Matte: Totally flat and not reflective. Beautiful soft, subdued appearance but shows imperfections.
- Satin/Eggshell: Mid-range sheen, not totally matte or glossy. Warm, smooth appearance, more durable and forgiving of flaws than matte.
- Semi-Gloss: High sheen and very reflective, with a crisp, bright look. Shows imperfections – best for flawless surfaces.
Typically, satin/eggshell offers the best balance for DIY painters. It flows out nicely and the soft sheen camouflages imperfections. Semi-gloss is beautiful on new cabinet boxes but unforgiving for knicks and dings.
Cabinet Paint Types: Oil or Latex?
Both oil and latex paint work well, with some key differences:
- Oil paint: Harder finish and more durable, with longer dry times. Strong odor. Requires mineral spirits for cleanup.
- Latex acrylic paint: Water-based, fast dry times, and easy cleanup with soap and water. Less fumes. Softer finish than oils over time.
Today’s top water-based cabinet paints offer great durability nearly on par with traditional oil. And latex continues to cure harder over several weeks. Latex acrylics are ideal for DIY painters thanks to easier handling.
Paint Brands
Not all paints are created equal! Invest in a top quality, kitchen-specific cabinet paint:
- Benjamin Moore Advance – Water-based alkyd, ultra-smooth
- Sherwin Williams ProClassic – Waterbased acrylic-alkyd
- Rustoleum Cabinet Transformations – All-in-one kit includes primer, paint, and topcoat for convenience
Now gather your painting supplies:
Cabinet Painting Supplies You’ll Need
Painting your own kitchen cabinets isn’t difficult, but having the right tools makes it much easier:
- Drop cloths – Protect floors and countertops
- Painter tape – Mask off edges and hardware
- Sandpaper – For light scuff sanding before painting
- Tack cloth – Remove dust after sanding
- Paintbrush – Angled sash brush for painting cabinet frames
- Paint roller – Short nap roller for flat cabinet door panels
- Paint tray – Pour paint to load your roller and brush
- Primer – Preps bare wood so topcoat sticks better
- Your chosen cabinet paint
- Small foam roller – For convenient touch-ups
- Sanding block/sponge – Lightly sand between coats
- Rags – For wiping up messes and drips
- Painter’s tool/5-in-1 tool – Open paint cans & reach tight spots
- Plastic paint containers – To portion out the paint as you go
- Stir sticks – Mix paint thoroughly before and during painting
Pick up these essential supplies at your local hardware store or paint shop before getting started.
Now let’s go over the key steps for painting your cabinets.
Step-by-Step Directions for Painting Cabinets
Follow these steps closely for stunning DIY painted cabinets:
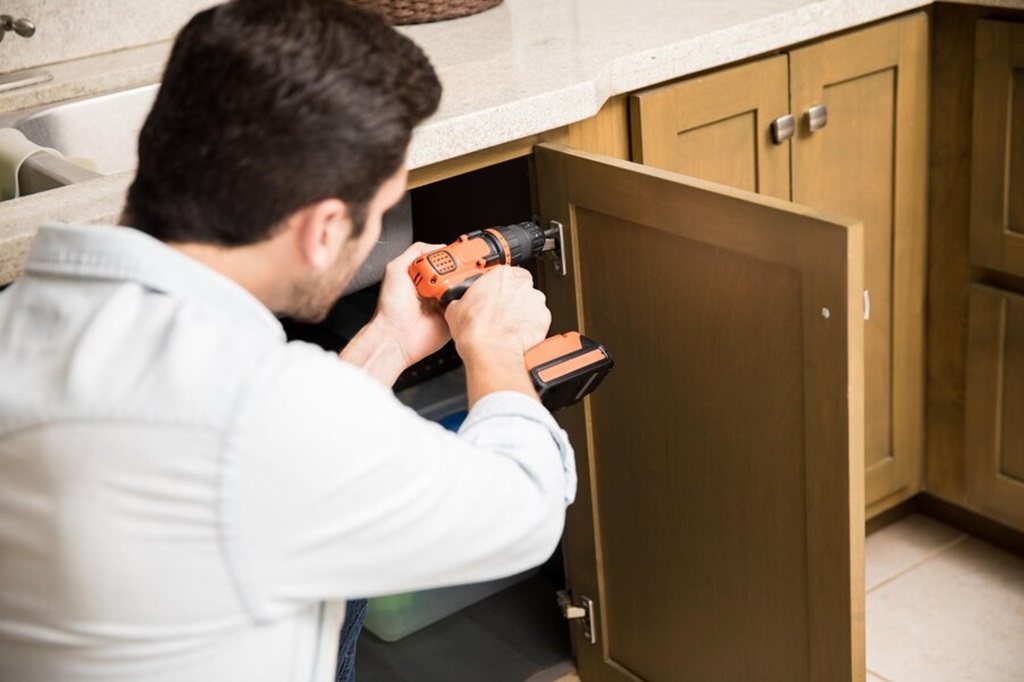
1. Remove Cabinet Doors and Hardware
Detach all doors, drawers, and hardware to make painting easier. Set the hardware aside in labeled bags.
2. Clean Cabinets Thoroughly
As discussed in the prep section, clean inside cabinet boxes and doors with a TSP substitute to remove grease and residue.
3. Lightly Sand Surfaces
Gently sandboxes and doors to rough up the surface for paint adhesion. Wipe away any dust with a dry cloth.
4. Fill Any Holes and Imperfections
Fill nail holes, cracks, or dents with wood filler, let dry completely, then sand smooth. Remove any leftover dust.
5. Tape Off Areas Near Cabinets
Use painter’s tape to mask off walls, countertops, floors and any areas near the cabinets to protect from drips. Remove knobs and fixtures.
6. Prime Bare Wood Surfaces
For unpainted wood or medium to heavy wood grain, apply a high-bonding primer like Zinsser Bulls Eye. For previously painted cabinets, you may not need primer.
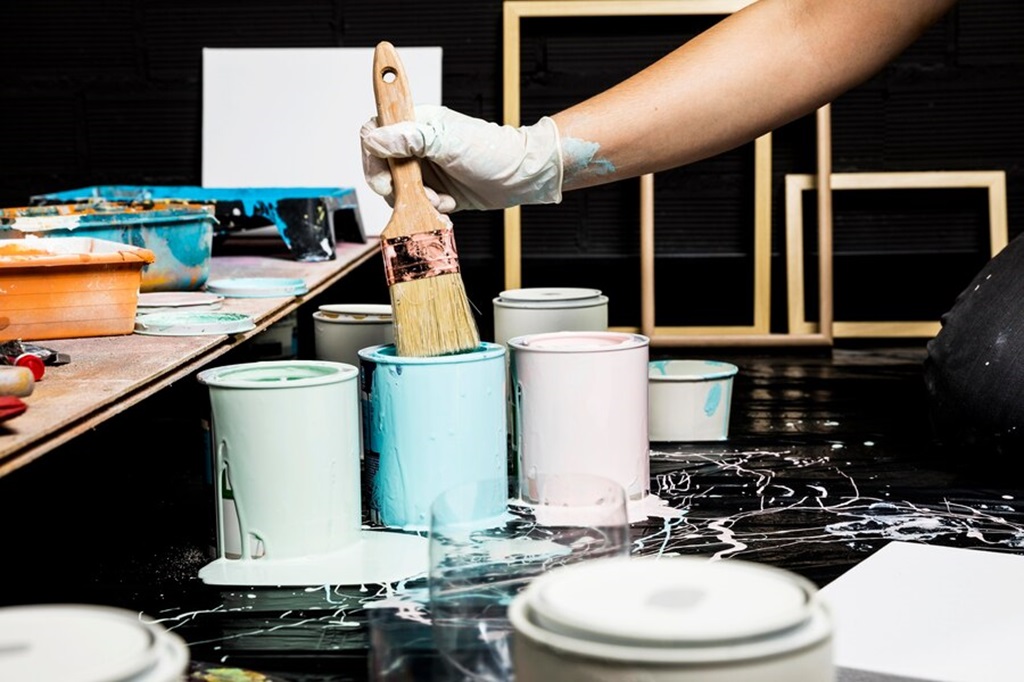
7. Apply the First Coat of Cabinet Paint
Stir your topcoat paint thoroughly before pouring some into a paint tray. Use a high-quality nylon/polyester brush and a short nap roller. Apply liberally to all cabinet surfaces, including inside boxes and on door frames.
8. Inspect the First Coat Thoroughly
The first coat highlights any flaws. Scan for drips, brush marks, or uneven coverage, and gently smooth with fine sandpaper.
9. Apply Second Paint Coat
After 2-3 hours of dry time, lightly sand any rough spots with a sanding sponge. Wipe away dust. Roll on your second coat of cabinet paint, again thoroughly covering all areas.
10. Allow Paint to Dry
Let the fresh paint dry for at least 24 hours before reattaching doors or applying a third coat. Cooler temperatures or higher humidity may require longer dry times.
11. Install Doors and Hardware
Once fully dry, attach the cabinet doors and reinstall handles and fixtures. Open and close doors to check for sticking. Add another coat of paint if needed to the problem areas.
12. Remove Tape and Protect Paint
If completely dry, gently remove all painter’s tape from neighboring surfaces. Avoid cleaning cabinets for 3-4 days while the paint fully cures.
Be very patient with dry times between coats. That’s the key to avoiding drips, stickiness, or tackiness. With good prep and careful application though, even first-timers can get pro-looking painted cabinets.
Now for some pro painter tips and tricks:
Painting Cabinets Like a Pro
Follow these professional tips for the highest quality DIY paint job:
Set Up a Dust-Free Space
Paint in a controlled dust-free area, like an empty garage. Dust is paint’s worst enemy, and can leave ugly bumps under the new finish.
Divide Paint Between Smaller Containers
Pouring too much paint into your tray risks contamination. Pour only what you’ll use in 30 minutes into the paint tray, and refresh often.
Always Work Top to Bottom
Paint the upper cabinets first, then the lower. This avoids dripping wet paint onto newly painted doors below. It’s much easier to protect floors from drips than countertops.
Tint Primer to Base Color
Ask them to add 2 oz. tint to primer so coats blend better. Or use gray primer as a versatile base.
Maintain a Wet Edge
When painting larger flat panels like doors, work from one side to the other maintaining a “wet edge” – overlapping each stroke to prevent lap marks as you go.
Check Coverage Frequently
Inspect the doors for missed spots often while painting, not just after. The lighting may look different once the coat dries.
Sand Lightly Between Coats
Gently smooth any dust nibs or textures with 220-grit sandpaper between coats. Clean and tack again before recoating.
Caulk All Joints
Run a smooth, thin bead of paintable latex caulk down each seam and corner before painting for a seamless look.
Handle Doors Carefully
Set painted doors on padded sawhorses or cardboard to dry, not directly on floors or they may stick. Never stack wet doors! Prop open slightly.
Label Pairs

Mark door pairs subtly with painter’s tape so you can realign the grain pattern when reinstalling.
Follow those tips closely and take your time with each step of the process for fabulous DIY painted cabinets worthy of a magazine cover story!
Now let’s go over answers to some frequently asked questions about painting kitchen cabinets:
Conclusion
Painting the kitchen cabinets is a satisfying, budget-friendly way to give your space a fresh new look. While the process takes 2-3 days for a complete DIY kitchen cabinet paint job, you don’t need expert painting skills to end up with beautiful results. Just be thorough in your prep work, invest in high-quality cabinet paint, apply multiple thin coats, and maintain patience allowing proper dry time between steps. Keep this beginner’s guide handy and you’ll be impressing guests with your DIY-painted cabinet makeover in no time!
FAQs
-
How long does it take to paint kitchen cabinets?
It takes 2-3 days working at a relaxed pace. Day 1 for removing doors, cleaning, sanding, and priming. Day 2 apply two paint coats, allowing several hours of dry time between coats. On Day 3 install cabinet doors, hardware, and protective topcoat once fully cured.
-
Can I paint over the wood stain?
Yes, but stained cabinets must be primed first or the stain might bleed through. Use an oil-based primer like Zinsser Cover Stain to block stubborn stains. Latex primers alone may not adhere to slick surfaces.
-
What sheen is best for kitchen cabinets?
Satin, eggshell, and semi-gloss sheen all work well on cabinetry. Satin is excellent for retaining depth of color while minimizing brush marks. Semi-gloss makes a bold, shiny statement.
-
How do I get a smooth finish on cabinets?
Good surface prep is key – filling imperfections and thorough light sanding before painting. Applying multiple thin coats with a high-quality brush designed for fine finish work also prevents brush marks.
-
Should you paint the inside of kitchen cabinets?
Yes, paint the inside of cabinet boxes or doors for extra moisture protection and a fully finished look. Quick tip – use a small foam roller and brush to easily paint inside the boxes.
Sorry, the comment form is closed at this time.