20 Aug How to Fix a Hole in Plasterboard: A Step-by-Step Guide
Are you tired of staring at that unsightly hole in your plasterboard? Don’t worry, repairing it is easier than you might think. With a few simple tools and some basic know-how, you can restore your wall to its former glory. In this article, we will guide you through how to fix a hole in plasterboard, ensuring a seamless repair that will leave your wall looking as good as new.
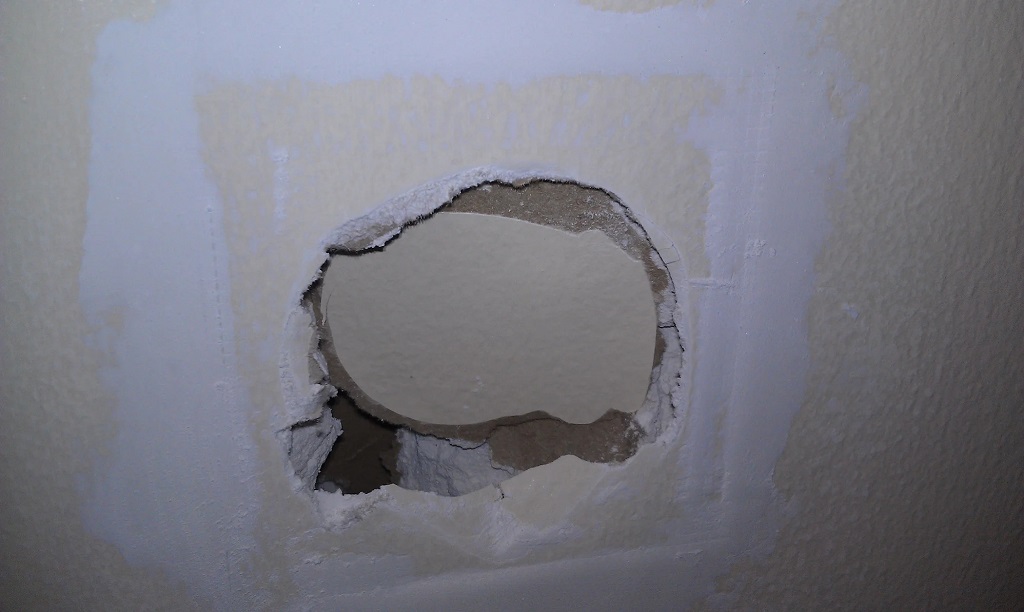
Before you begin the repair, it’s important to assess the size and severity of the hole. Is it a small nail hole or a larger damage caused by an accident? This will determine the method you need to use for the repair.
Gathering the Materials
To fix a hole in plasterboard, you will need the following materials:
- Putty knife
- Sandpaper
- Joint compound
- Mesh patch or patching plaster
- Paint and primer (matching the wall color)
Preparing the Surface
To fix a 45 degree drywall crack, start by clearing the area around the hole from any loose debris or old paint. Use a putty knife to gently scrape away any loose edges of the hole. Once the surface is clean and smooth, you are ready to proceed.
Filling Small Holes
For small nail holes or tiny cracks, you can simply use joint compound. Apply a small amount of compound to the putty knife and press it into the hole. Scrape off any excess and let it dry. Sand the area lightly to achieve a smooth finish.
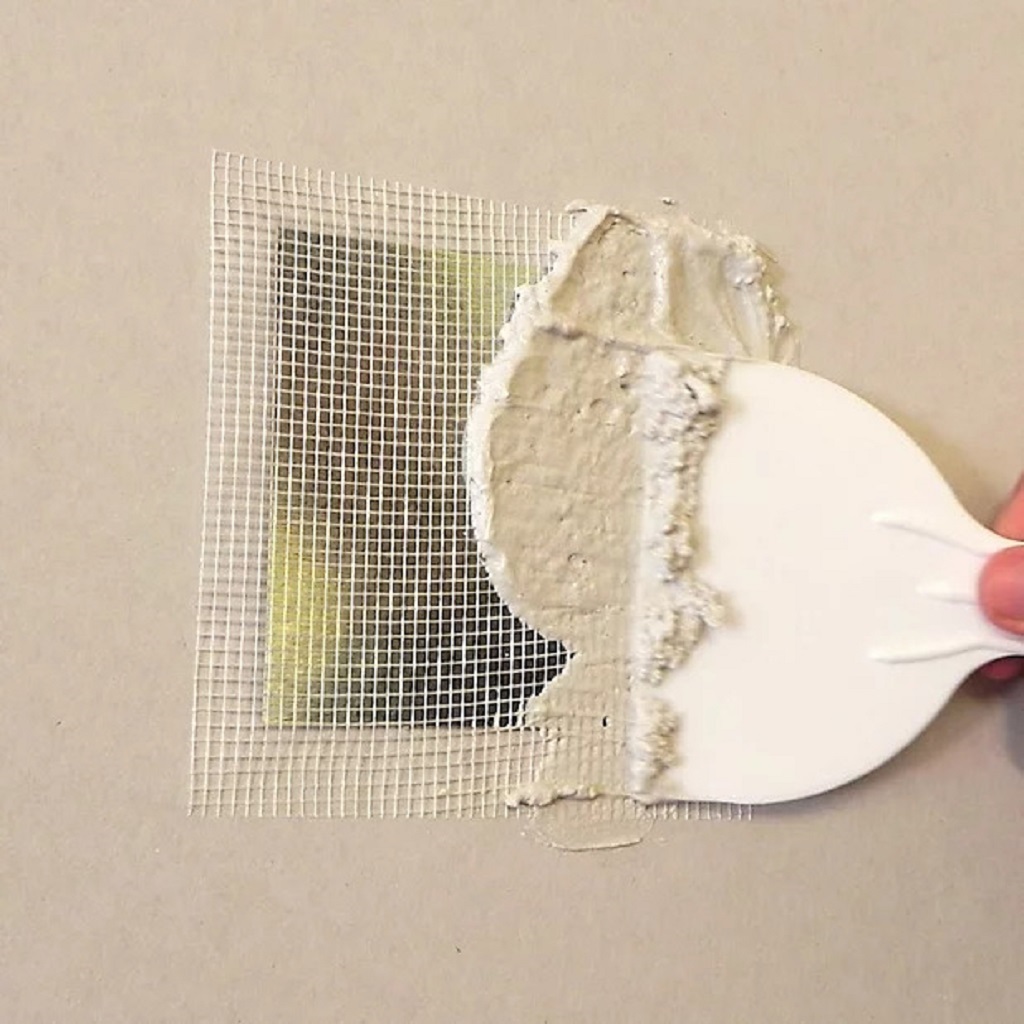
Repairing Medium to Large Holes
For larger holes, you will need to use a mesh patch or patching plaster. Cut the mesh patch to fit the size of the hole, ensuring it overlaps the edges. Apply a layer of joint compound around the edges of the hole, then press the patch firmly into place. Use the putty knife to smooth out any excess compound and let it dry. Once dry, sand the area until it’s level with the surrounding wall.
Finishing the Repair
To ensure a seamless repair, you may need to apply multiple layers of joint compound. After each layer dries, sand it lightly and apply another layer if necessary. Once you achieve a smooth surface, you can proceed to the next step.
Priming and Painting
Before painting, it’s important to prime the repaired area. Apply a coat of primer using a roller or brush, and let it dry according to the manufacturer’s instructions. Once the primer is dry, you can paint the repaired area to match the rest of the wall. Apply two coats of paint, if needed, to achieve a consistent color.
Cleaning Up
Once the paint is dry, clean up your tools and dispose of any waste materials properly. Admire your handiwork and enjoy your beautifully restored wall.
Conclusion
Fixing a hole in plasterboard doesn’t have to be a daunting task. With the right tools and a little patience, you can successfully repair any damage to your wall. Remember to assess the size of the hole, gather the necessary materials, and follow the step-by-step guide we provided on how to fix a hole in plasterboard. By following these instructions, you’ll be able to restore your plasterboard and regain the aesthetic appeal of your space. Additionally, once your repairs are complete, you might also consider learning how to paint a living room to give your space a fresh new look.
FAQs (Frequently Asked Questions)
Q1: Can I use spackling paste instead of joint compound for small holes?
Yes, spackling paste can be used for small holes. It’s a lightweight alternative to joint compound and can provide excellent results for minor repairs.
Q2: How long does it take for the joint compound to dry?
The drying time for joint compound can vary depending on the product and environmental conditions. Generally, it takes around 24 to 48 hours for the compound to dry completely.
Q3: Do I need to sand between coats of joint compound?
Sanding between coats of joint compound is recommended to achieve a smooth finish. It helps to remove any imperfections and create a seamless surface.
Q4: Can I skip priming the repaired area before painting?
Priming is essential before painting to ensure better adhesion and color consistency. Skipping this step may result in uneven paint absorption and an inconsistent appearance.
Q5: What if the repaired area doesn’t match the rest of the wall after painting?
If the color doesn’t match, you may need to repaint the entire wall to achieve a consistent look. Consider consulting with a professional painter for color matching assistance.
Sorry, the comment form is closed at this time.