13 Jan How Do You Mop a Floor?
Regularly mopping the floors is an essential household chore that should not be overlooked. It is vital to keep the floors clean and free of grime buildup. However, it’s not enough to go through the motions and assume that the floors are clean. To get the floors as clean as possible, it’s necessary to use the right cleaning agents, tools, and techniques. Moreover, it’s essential to pay attention to the hard-to-reach areas, such as corners and under furniture, as they are the most prone to accumulating dirt and grime. No matter how much I mop the floor, it’s still dirty. Regularly addressing these overlooked spaces ensures a thorough clean and helps maintain a pristine living environment. By taking the time to mop a floor correctly, you’ll not only keep your home cleaner but also extend the life of your floors. Follow this guide to learn the ins and outs of mopping like a professional house cleaner.
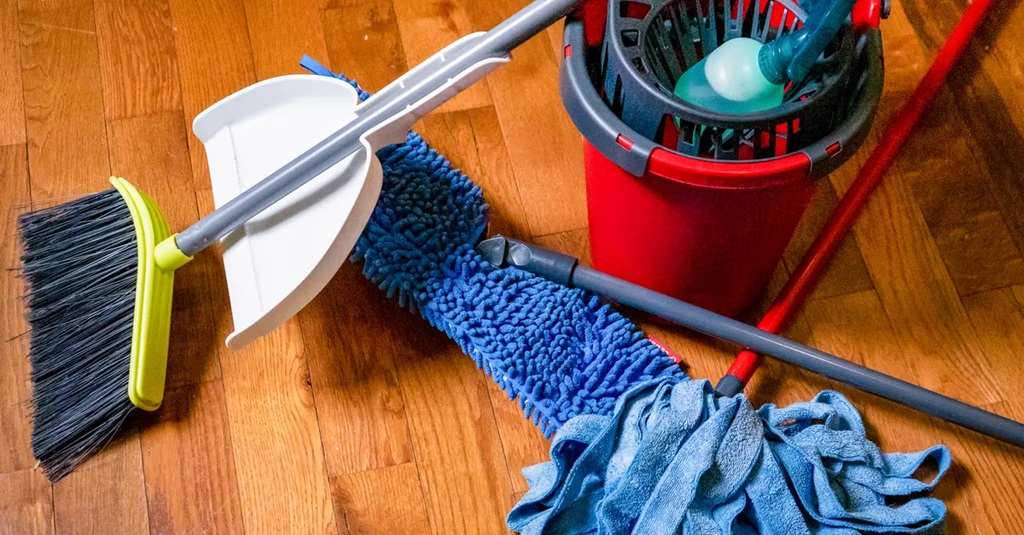
Supplies You’ll Need
Before getting started, you’ll need to gather the right supplies. Having the proper mopping tools makes the job much easier.
- Mop – The most basic supply needed is a good mop. There are string mops, sponge mops, and microfiber mops to choose from. String mops are good for scrubbing tougher messes. Sponge mops hold water well for applying cleaning solution. Microfiber mops are great for picking up dust and dirt. Choose the type that fits your needs.
- Mop Bucket – A bucket with a wringer allows you to control the amount of liquid on the mop. This prevents overly wet floors. Get a bucket with 2 compartments to keep clean water separate from dirty water.
- Mopping Solution – Use a cleaning concentrate made specifically for mopping. Mix it with water in the bucket per label instructions. Solutions help lift dirt and sanitize floors.
- Old Rags – Have some rags on hand to wipe up spills and splatters that happen while mopping. Absorbent microfiber cloths work well for this.
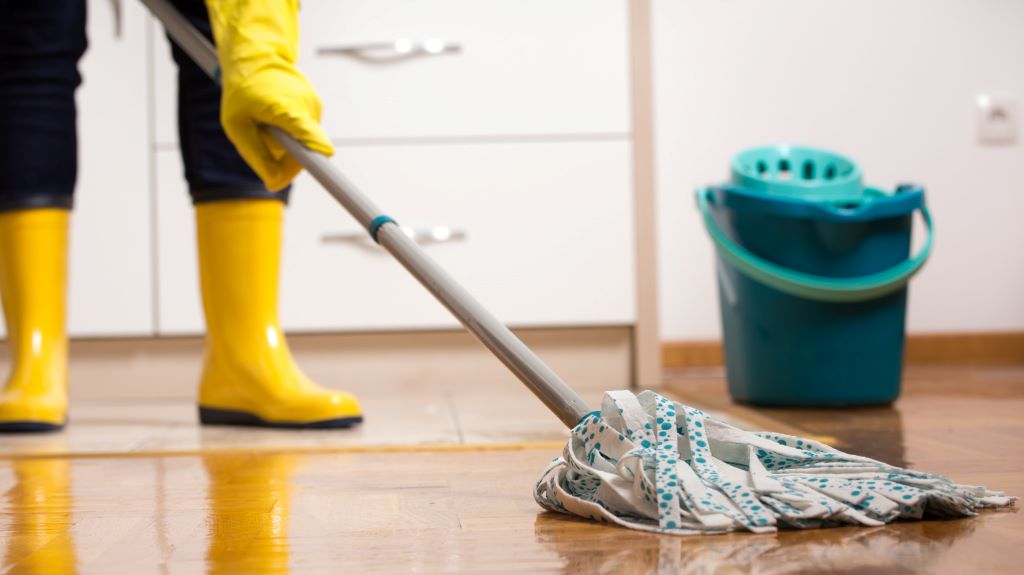
- Gloves – Wear waterproof rubber gloves to keep hands clean and dry throughout the process.
Prepare the Floors

Before mopping, you need to prep the floors properly so cleaning solution and dirt don’t get stuck in cracks and corners.
- Sweep First – Go over floors with a broom to remove loose dirt, debris, and crumbs. This prevents spreading grit around while mopping. Get into corners and under furniture.
- Remove Furniture – Mopping under chairs, tables, and other furniture is difficult. Move pieces out of the way before starting. Make sure to put furniture pads or coasters back under legs later.
- Vacuum Edges – Use a vacuum attachment to clean along baseboards, edges, and around fixtures. These areas trap lots of dirt and need special attention.
- Fill Cracks – Damp mops can get caught on wide cracks and grout lines. Fill gaps with caulk to even out the floors. This allows the mop to glide smoothly.
- Deodorize Pet Areas – Use an enzymatic cleaner to remove pet odors before mopping. This prevents wetting and spreading smells around the floor. Let the area dry completely first.
Mix the Cleaning Solution: Mop a Floor
Always mix your mopping solution according to the label directions. Using too much or too little cleaning concentrate affects how well it works.
- Check Label – Read the dilution ratio on the bottle. Many cleaners require 1/4 cup per gallon of water. Don’t guess, measure it out.
- Use Warm Water – Warm water helps dissolve and activate the cleaning agents. Hot water can damage certain floors, so use caution.
- Add Concentrate First – Put the cleaner in the bucket before adding water. This helps it incorporate and mix better than adding it last.
- Use Two Buckets – Divide your solution between two buckets for more efficient mopping. One bucket is for the clean mop, the other catches dirty water.
- Stir Well – After adding the solution and water, give the mix a good stir with the mop to fully blend. This activates the cleaner.
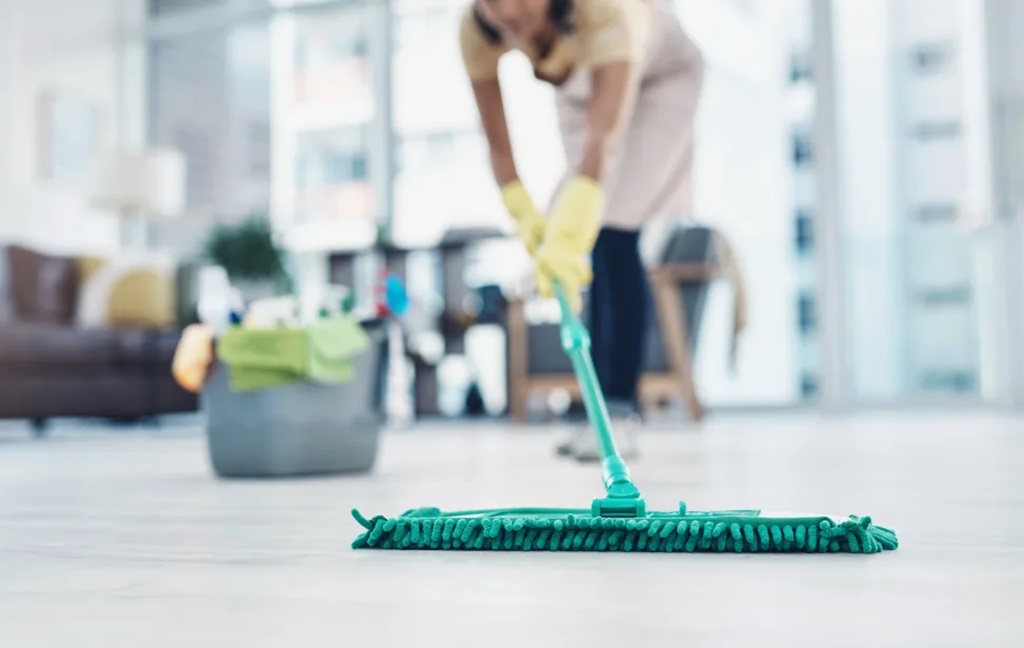
Mopping Technique Matters
The way you actually mop the floor makes a big difference in how clean the floors come out. Follow these techniques:
- Overlap Strokes – Mop in a zig zag pattern, overlapping strokes as you go. This ensures you don’t miss any spots on the floor.
- Rinse the Mop – Frequently dip your mop into the rinse water bucket to keep it clean. Mopping with a dirty mop just spreads gunk around.
- Don’t Soak the Floor – Wring mops out thoroughly before mopping. Excess water can damage many floor types over time. Damp mop rather than flooding.
- Change Directions – On the second mop pass, go perpendicular to the first. Switching directions picks up dirt the other strokes missed.
- Get Into Corners – Use a squirt bottle of cleaning solution to spray dirt out of corners. Wipe it up with a rag before mopping.
- Be Thorough – Mop under furniture and appliances once they are moved back into place. Check for splatters on baseboards too.
Choosing the Right Mopping Method
There are a few different ways to actually mop, each with their own pros and cons. Pick the technique that fits your situation.
The Basic Wet Mop
This involves wetting the floor with your solution and mopping it around.
Pros:
- Requires less cleaning solution
- Allows you to pretreat stains
- Good for quick touch-up mopping
Cons:
- Can leave floors damp
- May not pick up all dirt
- Needs frequent rinsing of mop
The Damp Mop
A damp mop limits water usage but still cleans effectively.
Pros:
- Floors dry faster
- Less risk of standing water
- Easier on some surfaces like wood
Cons:
- May require more passes to clean well
- Not as effective on stuck-on messes
The Steam Mop
Steam mops use hot vapor to sanitize and loosen dirt.
Pros:
- Chemical-free cleaning
- Removes bacteria and germs
- Good for heavy duty cleaning
Cons:
- Not suitable for all floor types
- More expensive equipment
The Flat Mop
Flat mops have a broad cleaning head that speeds up the process.
Pros:
- Covers more floor area faster
- Great for large areas or frequent mopping
- Reusable microfiber pads
Cons:
- Not as effective for scrubbing messes
- Pads require frequent laundering
Focus on High Traffic Areas: Mop a Floor
All floors get dirty, but some areas need extra attention during mopping.
- Entryways – Mop mud, salt, and grime near exterior doors before it spreads deeper into the home.
- Kitchen – Food spills and cooking messes make kitchen floors especially dirty. Give them a thorough mop.
- Dining Areas – Crumbs, spills, and dirt collect under tables and chairs. Take time to clean thoroughly in dining spots.
- Main Walkways – High traffic halls and doorways often look dingier and need regular mopping focus.
- Bathrooms – Hair, soap scum, and moisture take a toll in bathrooms. Disinfect and scrub bathroom floors well.
Mop Different Floor Surfaces Properly
Not all floors can be cleaned the same way. Adjust technique based on flooring type.
Tile and Stone Floors
- Use a stiff mop to scrub dirty grout. Rinse thoroughly so it doesn’t get hazy.
- Avoid acidic cleaners that can damage grout and etch natural stone.
- Let floors dry completely so moisture doesn’t seep under tiles.
Hardwood Floors
- Damp mop only to limit water exposure and prevent warping.
- Check cleaner labels to make sure they are wood floor safe. Avoid anything too alkaline.
- Always mop with the wood grain, not against it. This prevents streaking.
Vinyl Floors
- Rinse thoroughly to prevent soapy residue buildup on vinyl.
- Don’t use a steam mop on sheet vinyl flooring. The heat can melt the glue underneath.
- Frequent mopping keeps vinyl looking shiny.
Laminate Floors
- Use a barely damp mop and avoid flooding laminate floors. Water can damage the core.
- Don’t use vinegar, ammonia, or harsh chemicals on laminate. Always check cleaner labels first.
- Dry spills immediately with a paper towel to prevent water from seeping under planks.
Mopping Dos & Don’ts
Follow these general mopping guidelines to avoid any pitfalls or issues:
DO:
- Rinse the mop head frequently while mopping
- Mop floors while cleaner is still wet
- Hang mops to dry completely after using
- Mix fresh solution for each mopping session
DON’T:
- Use dirty mop water to clean additional floors
- Mop over spills or loose dirt
- Leave excess dirty water on floors
- Soak mops in bleach for storage
Mopping Up Safely
It’s easy to get hurt while mopping by rushing or using improper techniques. Keep safety top of mind:
- Place “wet floor” signs over mopped areas. This prevents slips and falls. Let floors dry completely before removing.
- Take off shoes to stand on the damp floor. Shoes can spread dirt and it’s slippery.
- Unplug electrical appliances before mopping around them. Never mop over outlets or cords.
- Work slowly and don’t overreach to prevent tipping the mop bucket. Only carry quantities you can handle.
- Wear shoes and watch your footing on wet exterior surfaces like patios. Hold the railings on outdoor steps.
Storing Supplies Properly: Mop a Floor
The way you store mops and cleaning supplies between uses affects their lifespan and effectiveness.
- Hang Mops to Dry – Leaving wet mops in buckets breeds bacteria. Always wring thoroughly and hang mops to air dry.
- Dump Dirty Water – Don’t let water sit in the mop bucket between uses. Empty buckets fully so they don’t get grimy.
- Rinse Buckets – Use a hose to rinse out the mop bucket occasionally to prevent residue buildup. Let it air dry.
- Store Supplies Together – Keep all mopping tools like solution bottles and gloves with the mop and bucket. This makes it easy to gather everything at once.
- Keep Chemicals Sealed – Securely close lids on cleaning concentrate bottles between uses. Store them upright to avoid leaks.
Deep Cleaning Tips
Over time, regular mopping just won’t cut it. Floors need occasional deep cleaning. Here are pro tips:
- Scrub Tough Stains – Mix a paste of baking soda and water to scour out stained grout lines or greasy vinyl floors. Let it sit before scrubbing and mopping.
- Degrease Kitchen Floors – Dish soap added to the mop water helps cut through layered-on kitchen grime. Rinse very thoroughly after degreasing.
- Sanitize with Bleach – For a deeper clean, use a bleach-based cleaner on occasion. This disinfects floors but shouldn’t be used daily.
- Replace Pads – Microfiber and sponge mop pads hold onto dirt over time. Remember to replace them regularly for better cleaning.
- Call the Pros – For routine deep cleaning, hire professional cleaners to steam clean, strip, and wax floors. They have powerful equipment and can restore floors fully.
Troubleshooting Common Mopping Issues
If you run into mopping problems, try these troubleshooting tips:
Streaky floors
- Rinse the mop more frequently
- Use less cleaning solution
- Change mopping direction
Filmy residue
- Use less cleaner and rinse thoroughly
- Try a cleaner formulated for your floor type
Dull or dirty look
- Replace old mop heads
- Use a restorative cleaner occasional
- Scrub floors before mopping
Lingering odors
- Rinse with clean water after mopping
- Add baking soda to the solution
- Check for pet stains and treat them
Damaged floors
- Make sure cleaners are safe for the floor type
- Only damp mop wood, laminate, and vinyl
- Test cleaners in inconspicuous areas first
FAQs
1. How often should you mop floors?
Floors with light traffic only need mopping once a week. High traffic areas may need to be mopped 3-5 times per week. Tile floors can be mopped daily if desired.
2. What ratio of water to cleaner should be used?
Always follow label dilutions, but many cleaners are mixed at 1/4 cup cleaner per gallon of water. Improperly diluting can make floors dirtier.
3. Is it better to sweep or vacuum first?
Sweeping is better for mopping preparation. It removes loose dirt while vacuuming can grind some in. But vacuum edges and corners first where dirt accumulates.
4. How do you get floors to shine?
Rinsing well prevents residue buildup. Occasionally mop with a restorative cleaner and dry floors thoroughly for a shine. Vinyl and wood floors can be buffed too.
5. What kind of mop is best?
It depends on your flooring. Sponge mops apply lots of solution. String mops scrub well. Microfiber mops are great for dust. Choose the style suited to your floors and cleaning needs.
Conclusion
Mopping effectively takes the right techniques and tools. Preparing floors properly and using clean solution prevents spreading dirt around. Adjust your method based on flooring type. Cleaning and sanitizing operations involve maintaining a hygienic environment by focusing on high traffic areas, such as frequently mopping floors. Follow these pro tips for floors that shine, ensuring a thorough and effective cleaning process that enhances overall sanitation.
Sorry, the comment form is closed at this time.