
19 Apr How to Attach Legs to a Table DIY
Are you tired of wobbly tables? If you have a table without legs or want to replace your old legs with new ones, you can do it yourself. In this article, we will guide you through the steps of how to attach legs to a table DIY. The content is presented by Homeplanidea.com
Attaching legs to a table is not as difficult as it may seem. With the right tools and techniques, you can have a sturdy and stable table in no time. In this article, we will provide you with a step-by-step guide on how to attach legs to a table DIY.
Materials Required
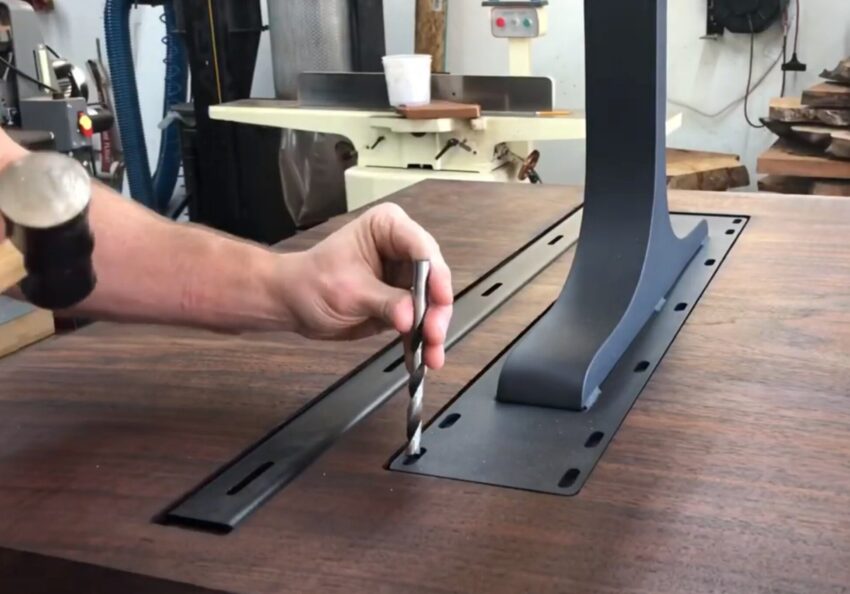
Image source: Google.com
Before starting, make sure you have the following materials:
- Tabletop
- Table legs
- Screws
- Drill
- Measuring tape
- Pencil
- Screwdriver
- Sandpaper
- Level
Step-by-Step Guide
Step 1: Choose the Right Table Legs
The first step is to choose the right legs for your table. You can either buy pre-made legs from a hardware store or make your own legs. If you make your own legs, make sure they are strong enough to support the weight of the tabletop. Discover more: Installing DIY Kitchen Floating Shelves
Step 2: Measure and Mark the Position of the Legs
Place the tabletop upside down on a flat surface. Measure and mark the position of the legs on the bottom of the tabletop with a pencil. Make sure the legs are evenly spaced and centered.
Step 3: Pre-drill the Screw Holes
Using a drill, pre-drill the screw holes on the markings. The size of the drill bit should be slightly smaller than the screw size.
Step 4: Attach the Legs to the Tabletop
Align the legs with the pre-drilled holes and screw them into place using a screwdriver. Make sure the legs are level and secure.
Step 5: Sand the Edges
Using sandpaper, sand the edges of the table legs to make them smooth and flush with the tabletop.
Step 6: Test the Stability
Test the stability of the table by placing it on a flat surface and checking for wobbling. If the table wobbles, adjust the legs until it is stable.
Conclusion
Attaching legs to a table DIY is a simple process that can be done with basic tools and materials. By following these easy steps, you can have a sturdy and stable table that will last for years to come.
Sorry, the comment form is closed at this time.